Event Planning · 5 min read
How to Run a Technical Advance Call for Live Music Events
A complete five-stage checklist for corporate planners and production managers to run a flawless technical advance call with head audio engineers.
The short version
A technical advance is a verification process, not a negotiation. Walking through power, signal flow, monitoring, backline, and timeline with the head audio engineer prevents costly show day surprises.
Short answer: A technical advance is a structured verification call between an event planner, the artist's representative, and the venue's head audio engineer to confirm that every technical requirement on the artist's rider can be executed on-site. It is a practical verification of power, signal paths, monitoring, stage layout, and timelines to ensure zero operational surprises on show day.
Why the Tech Advance is a Verification Process
Many corporate planners view the technical advance as a second round of negotiation. This is a mistake. The negotiation finished when the contract was signed. The tech advance call is purely about execution. It bridges the gap between the paper rider and the physical venue.
When you schedule the advance call, ensure the head audio engineer (A1) and the venue production manager are both on the line. The artist's tour manager or primary technician should also join. Your role as the planner is to facilitate this dialogue, ensuring that both sides have the same physical expectations before the trucks roll up to the dock. Having this alignment prevents expensive local sub-rental fees and avoids delays during the tightly scheduled soundcheck window.
Stage 1: Electrical Load and Power Distribution
Every live performance relies on stable electrical distribution. During this stage of the call, you must identify where the stage power originates and how it is routed to the artist's gear.
Do not assume standard wall outlets are sufficient. High-power subwoofers, amplifiers, and lighting rigs pull massive amounts of current. For outdoor settings, refer to the generator power planning guide to calculate your fuel and distribution needs.
- Identify Dedicated Circuits: Confirm that the stage audio runs on dedicated, isolated circuits. If the DJ decks share a breaker with catering coffee makers, the breaker will trip during the performance.
- Verify Voltage and Amperage: Ask the house engineer for at least two dedicated 120V 20A circuits on separate breakers placed directly on the stage.
- Locate the Distro: Know the distance from the main power tie-in to the stage to ensure the venue has enough feeder cable.
Ground loops are a major cause of audio hum on stage. Ask the A1 if the audio power and the lighting power are on completely isolated transformers. Lighting dimmers and LED walls generate substantial electrical noise. If they share a neutral line with the audio system, a loud, constant hum will bleed into the PA system. This cannot be easily fixed during the show, so verifying isolation on the advance call is critical.
Stage 2: Input Lists, Patching, and Signal Flow
The input list dictates how many channels of audio run from the stage to the front-of-house (FOH) mixing console. For a standard DJ set, this might only be two channels. For a hybrid act, it is more complex.
You must walk through the signal chain line by line with the head audio engineer. For a detailed breakdown of a hybrid setup, review the country EDM technical rider guide.
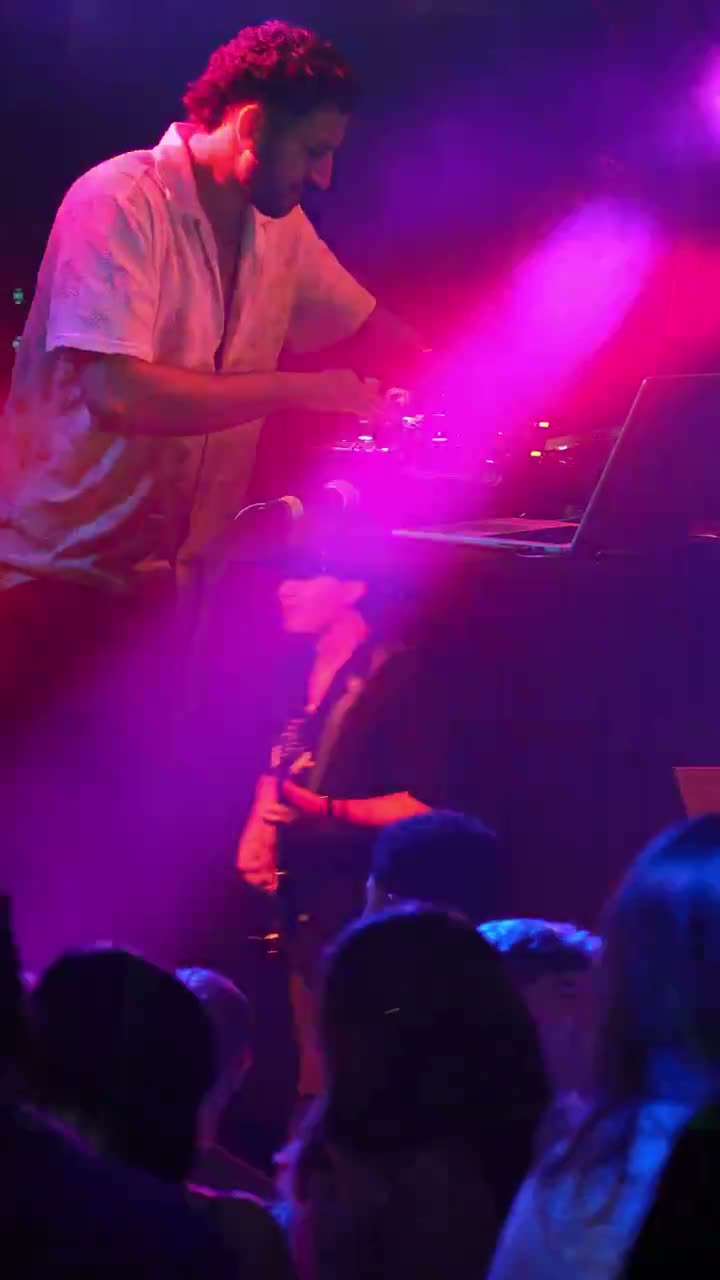
For Jordan Miller's hybrid project, Mixmode, the patch sheet requires specific routing. The signal chain includes:
- Channels 1 and 2: Main Left and Right DJ output (Stereo XLR)
- Channels 3 and 4: DJ Monitor output (Stereo XLR or TRS)
- Channel 5: Wireless electric guitar receiver output (Mono XLR)
- Channel 6: Wireless vocal microphone (Mono XLR)
Verify that the house console has enough open channels. Ask the A1 if they are supplying the direct boxes (DI boxes) and XLR cabling or if the artist needs to bring them.
Stage 3: Monitoring Paths and On-Stage Audio
Musicians cannot perform without hearing themselves. How monitors are managed is a critical decision point for any planner. The two primary options are physical stage wedges and in-ear monitors (IEMs). You can read about the tradeoffs in the IEM vs. stage wedge comparison.
During the advance call, ask the head audio engineer how many monitor mixes the console can support. If the performer uses IEMs, confirm that the house can provide a stereo auxiliary send. If using wedges, verify that the venue has professional, high-output wedges that can cut through high stage volumes.
For Jordan Miller, touring with a hybrid setup requires low-latency monitoring to keep the guitar perfectly synchronized with the digital tracks. Confirming the monitor paths on this call prevents feedback loops and phase issues on show day.
Stage 4: Stage Plot, Backline, and Physical Layout
The stage plot is a visual map showing where everything sits. Planners must coordinate this layout with the A1 to ensure sightlines are clear and cables do not present trip hazards.
- Backline Verification: Backline refers to the physical instruments and playback gear provided by the venue or local rental house. Review the backline list from the rider. Check if the venue has the exact models of Pioneer CDJs or mixers requested. For help understanding these specific equipment requirements, see the DJ rider guide for planners.
- Table and Support Heights: DJ performance tables must be sturdy and set at a height of 36 to 40 inches. Standard 30-inch banquet tables cause severe back strain and will not be accepted by touring professionals.
- Wireless Frequency Coordination: If the show uses wireless microphones or wireless guitar packs, the venue's A1 must coordinate the radio frequencies (RF). Ask if there are local RF conflicts, especially in major metro areas where local TV stations crowd the airwaves.
Stage 5: Load-In, Soundcheck, and Strike Schedule
The final stage of the advance is establishing the physical timeline. A rushed soundcheck leads to poor show quality. Ensure the following schedule blocks are agreed upon and noted by the head audio engineer:
- Load-In and Push (2 hours): The time required to move gear from the loading dock to the stage and build the physical setup.
- Line Check (15 minutes): A technical test where the audio crew verifies that signal is passing from every input to the console without noise.
- Artist Soundcheck (30 to 45 minutes): The actual rehearsal where the artist plays at performance volume, adjusts monitor levels, and aligns the PA system. This must occur on a quiet stage without catering setup noise or lighting program interruptions.
- Doors and Show Start: The absolute hard stop for all technical preparations.
- Strike and Load-Out (1 hour): Safe disassembly of all gear immediately following the performance.
Planners often underestimate the necessity of a quiet stage during soundcheck. Ensure that the venue management schedules catering load-in, table settings, and decor assembly either before or after the artist's soundcheck window. The clatter of plates, the hum of vacuum cleaners, or the testing of high-power moving light fixtures directly interferes with the audio engineer's ability to tune the PA system to the room's acoustics.
To secure professional technical planning and book Jordan Miller for your next venue or corporate event, contact the team at /production.
Common questions
What is the difference between a technical rider and a hospitality rider?
A technical rider specifies the physical gear, power, stage space, audio inputs, and monitor systems required to execute the musical performance. The hospitality rider details dressing rooms, catering, water, and transport logistics. Planners must address both, but the technical rider is critical to prevent show-stopping audio failures.
Why can't a DJ just use a standard 30-inch banquet table?
Standard banquet tables are too low, forcing artists to hunch over, which causes physical strain during long sets. Additionally, these tables are often constructed of thin plastic or wood that wobbles, causing DJ turntables and CDJs to skip due to bass vibrations from the sound system.
Who should participate in the technical advance call?
The call should include the event planner, the head audio engineer (A1), the venue's overall production manager, and the artist's tour manager or technical director. Leaving any of these parties off the call risks communication gaps that manifest as delays during soundcheck.
What happens if a venue cannot supply the exact backline gear requested?
If the house cannot supply the exact models, the venue's production manager must propose substitutions during the advance call. The artist's team must approve these alternatives in writing. Unapproved substitutions can lead to performance errors, software incompatibilities, or system downtime.
Go deeper
Stay in the loop
Not booking today?
Get tour dates, new music, and a heads up when booking availability opens. No spam, unsubscribe anytime.
Keep reading
- Event PlanningDJ Contract Overtime Clause: Extended Set Fees ExplainedAn overtime clause sets the rates and rules when a DJ plays past the agreed end time. Day-of extensions usually cost 1.5 to 2 times the hourly rate.
- Event PlanningEvent Audio Troubleshooting: How to Prevent Mic FeedbackFeedback happens when a live mic picks up its own signal from a PA speaker. Pull the mic behind the speakers, lower the gain, or cut the ringing frequency.
- Event PlanningXLR vs. TRS vs. RCA: The Event Planner's Guide to Audio CablesDemystify venue AV quotes. Learn the crucial differences between XLR, TRS, and RCA cables, and why using the wrong wire creates terrible event buzz.