Event Planning · 9 min read
Event Audio Troubleshooting: How to Prevent Mic Feedback
Microphone feedback is a physical loop of sound caused when a live microphone picks up its own signal from a PA speaker and re-amplifies it. To stop it instantly, pull the
The short version
Microphone feedback is a physical loop of sound caused when a live microphone picks up its own signal from a PA speaker and re-amplifies it. To stop it instantly, pull the microphone behind the physical plane of the speakers, lower the input channel's gain, or cut the specific offending frequency on your mixer's
Short answer: Microphone feedback is a physical loop of sound caused when a live microphone picks up its own signal from a PA speaker and re-amplifies it. To stop it instantly, pull the microphone behind the physical plane of the speakers, lower the input channel's gain, or cut the specific offending frequency on your mixer's equalizer.
The Physics of a Feedback Loop
To solve feedback, you must understand that it is not a digital software error. It is a physical phenomenon of acoustics. Think of it as a closed loop. The microphone picks up a sound, such as a presenter's voice. The mic sends this electric signal down an XLR cable to the mixing console. The console boosts the signal and sends it to the amplifier, which drives the main PA speakers. The speakers push that amplified sound back into the air as sound waves.
If the microphone is physically positioned where it can capture those amplified sound waves coming out of the speakers, the cycle repeats. The sound travels into the mic again, gets amplified again, and exits the speaker even louder. This happens at the speed of sound. Within milliseconds, this loop creates a piercing, high-pitched squeal or a low-end rumble that can damage hearing and ruin the vibe of your event.
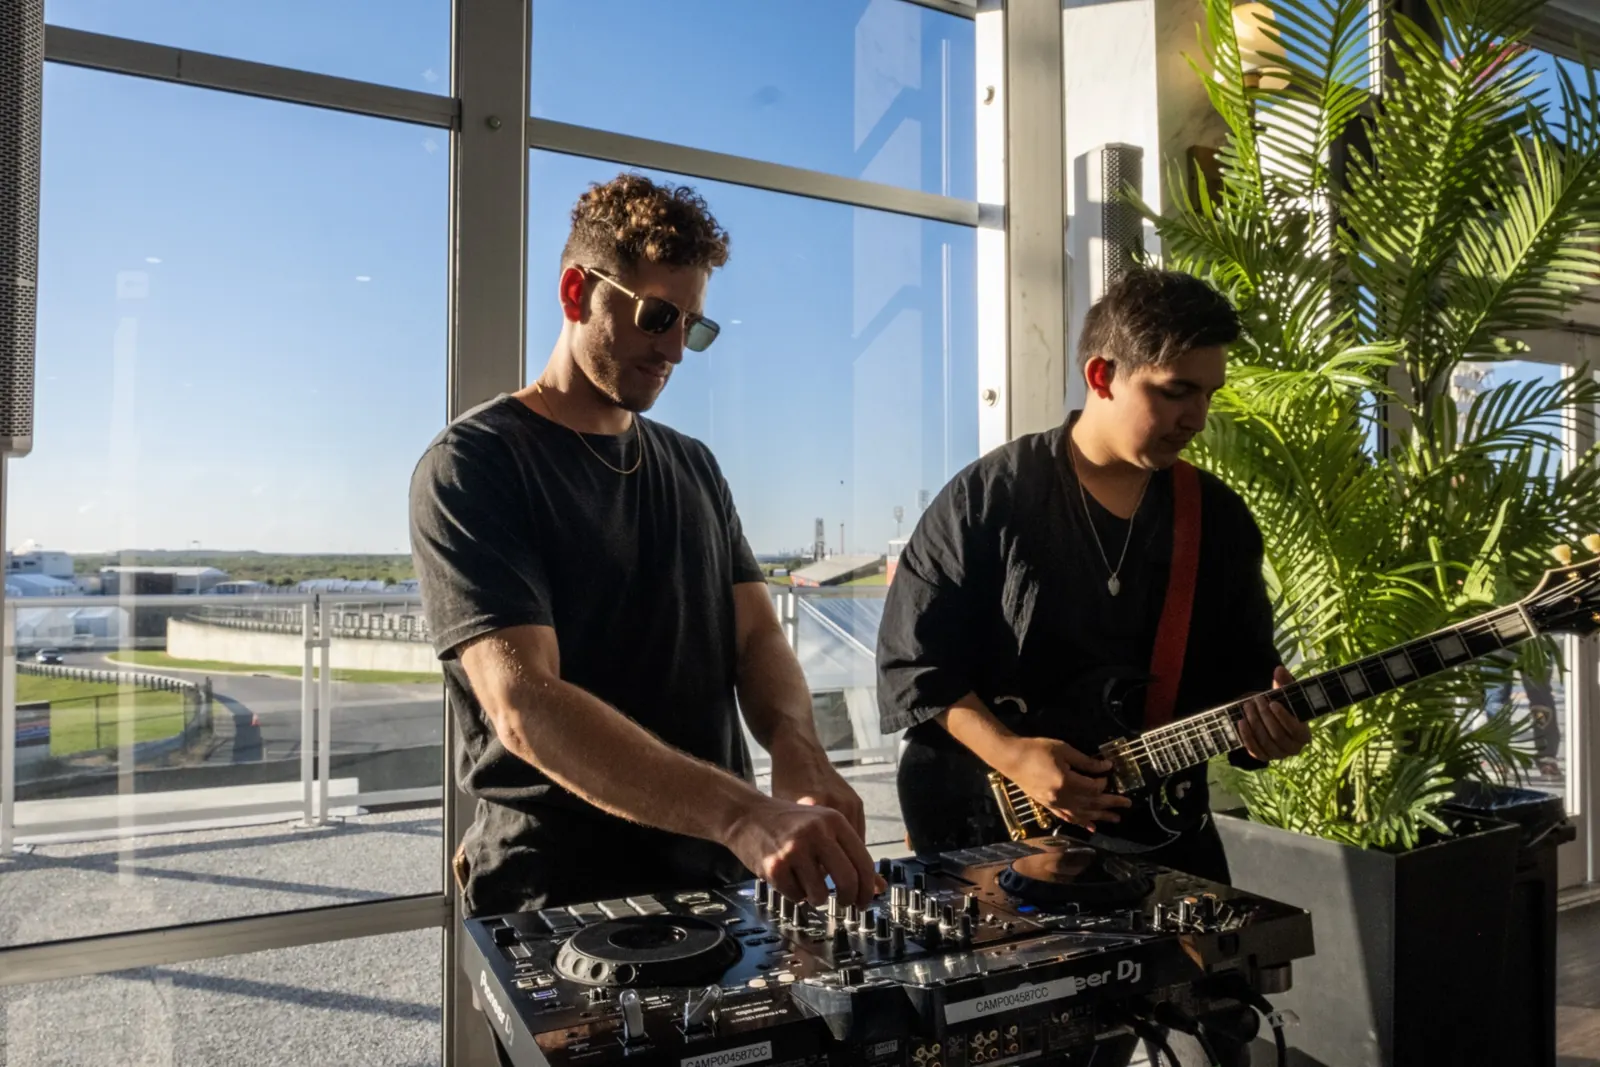
As a touring DJ and producer with over 500 shows, Jordan Miller has engineered environments of all sizes and knows that feedback is almost always a layout problem, not an equipment failure. Whether you are running sound for a high-profile corporate launch or a multi-day conference, the laws of physics do not change. Feedback requires a complete physical pathway from the speaker cone back to the microphone element. If you break that physical pathway, you kill the feedback loop.
Step 1: Map the Speaker Dispersion Pattern
PA speakers do not project sound in all directions equally. They project sound in a controlled cone, known as the dispersion pattern or coverage angle. A standard point-source PA speaker typically has a horizontal dispersion of 90 degrees and a vertical dispersion of 60 degrees. To prevent feedback, the physical stage, the lectern, and any wireless microphone users must remain outside of this high-volume dispersion cone.
Here is how to map and position your speakers relative to the stage:
- Place speakers forward of the stage line: The physical front of the speaker cabinets must be located at least 3 to 6 feet downstage (toward the audience) from the microphone position.
- Angle speakers away from the stage: Do not toe-in the speakers so much that their inside coverage edge spills back onto the stage. Maintain a straight or slightly outward angle.
- Mount speakers above head level: Elevate your main speakers on stands so the high-frequency horn projects over the heads of the crowd and above the microphone height on stage.
By understanding speaker specs, you can design a layout that keeps microphones in a physical "dead zone" where speaker output is minimal. For a deeper look at speaker patterns and power requirements, read our guide on decoding event audio specifications for PA systems.
Step 2: Set Proper Gain Staging Before the Event
A common mistake is confusing "gain" with "volume" on your mixing console. Gain controls the sensitivity of the input preamplifier. It determines how much raw signal enters the board from the microphone. Volume, controlled by the channel fader, determines how much of that processed signal is sent to the amplifiers and speakers.
If your input gain is set too high, the microphone becomes hyper-sensitive. It will pick up quiet ambient noises from yards away, including the room reflections of your main speakers. This triggers feedback even at low room volumes.
Use this clean signal chain process during soundcheck:
- Set all channel faders to unity, which is marked as 0 dB on the console.
- Have your speaker stand at the microphone and talk at their natural presentation volume. Do not let them just say "test, test" in a quiet whisper.
- Slowly turn up the input gain knob (often labeled Gain or Trim) until the signal meter bounces in the healthy green zone, peaking occasionally in the yellow (around -12 to -6 dB on a digital console).
- If the meter hits the red zone, the signal is clipping, which causes distortion.
- Use the master fader to adjust the overall volume in the room, keeping the individual channel gain as low as practically possible.
Proper gain staging keeps your system stable and noise-free. To master this critical audio concept, check out our guide on what gain staging is and why venue systems distort.
Step 3: Choose the Right Microphone Polar Pattern
Not all microphones pick up sound the same way. The shape of a microphone's pickup area is called its polar pattern. Choosing the wrong pattern for a live, high-volume environment is a fast track to feedback disaster.
There are three primary patterns you will encounter at live events:
- Cardioid: This pattern is heart-shaped. It picks up sound from the front and rejects sound from the rear. This is the industry standard for hand-held vocal mics. Placing a cardioid mic directly in front of a speaker is safe, provided the speaker is pointed away from the stage.
- Supercardioid/Hypercardioid: These have a narrower pickup pattern in the front but have a small lobe of sensitivity directly behind the microphone. If you use these, do not place stage monitors directly behind the mic. Place them slightly to the sides (at roughly 120-degree angles off-axis).
- Omnidirectional: This pattern picks up sound equally from all directions. Omnidirectional elements are common in cheap lapel (lavalier) microphones and headset mics. Because they capture sound from 360 degrees, they are incredibly prone to feedback in rooms with loud PA systems.
For high-stakes presentations, avoid omnidirectional lapel mics if the speaker has to walk in front of the PA. Instead, opt for a directional headset microphone or a traditional handheld cardioid microphone. If you are managing multiple wireless systems, make sure you understand the difference in signal types by reading about why wireless microphones cut out.
Step 4: Position Presenters and Lecterns Safely
The physical layout of your stage determines your feedback risk before anyone even speaks. If your venue has a fixed lectern, or if your client insists on placing a podium directly in the center of the room, you must plan your speaker placements accordingly.
Use these exact safety distances for your stage layout:
- Minimum stage depth: Ensure the stage is at least 8 to 12 feet deep from front to back. This physical distance provides a natural acoustic buffer between the microphone and the main speakers.
- Side-stage clear zone: Keep the speakers at least 5 feet to the left and right of the stage borders. This prevents the speaker's side-lobe energy from bleeding back into the presenter's area.
- The "Behind-the-PA" rule: Draw an imaginary line across the front of your main PA speakers. No live microphone should ever cross this line into the audience area during a speech. If a presenter likes to walk the room, you must use a dedicated system tuning or a highly directional microphone to prevent instant feedback.
When coordinating large events, mapping these zones is a standard part of the site advance. You can streamline this physical staging setup by using our large event production planning advanced checklist to ensure nothing is missed during load-in.
Step 5: Ring Out the Room with Parametric EQ
Every physical room has resonant frequencies, which are specific tones that bounce off hard walls, glass windows, and high ceilings, making them naturally louder in that space. When these resonant frequencies hit the microphone, they feedback first. "Ringing out" the room is the process of identifying these problem frequencies and cutting them using an equalizer (EQ) before the audience arrives.
Here is the step-by-step process for ringing out a room:
- Set up your main microphones on their stands at the exact location they will be used during the event.
- Slowly raise the channel fader until you start to hear a faint ring or hum. Do not let it turn into a full scream.
- Identify the frequency of the ring. A high-pitched squeal is usually in the 2 kHz to 8 kHz range. A metallic ring is often around 1 kHz. A muddy howl is down in the 250 Hz to 500 Hz range.
- Use a parametric EQ on your mixing board or an external graphic EQ. Pull down the offending frequency by 3 to 6 dB. Keep the cut narrow (high Q value) so you do not thin out the natural tone of the presenter's voice.
- Engage a high-pass filter (HPF) on all vocal channels. Cut everything below 80 Hz or 120 Hz. Human voices do not produce useful speech information below this range, but subwoofers and stage rumble do. Cutting these low frequencies removes low-frequency feedback loop risks.
- Raise the volume a bit higher until the next frequency rings. Repeat the process. Stop once you have cut 2 or 3 problem frequencies. If you cut too many, the system will sound thin and unnatural.
Step 6: Coach Your Speakers on Microphone Technique
Even the best audio engineer cannot save a presentation if the speaker has poor microphone technique. This is the single largest variable at corporate events and weddings.
During high-profile corporate bookings, such as work with Lamborghini Austin, Jordan relies on clean mic technique to keep the energy tight and professional. Instruct your presenters on these three simple rules during their quick rehearsal or mic check:
- Hold the mic close: The capsule should be approximately 1 to 2 inches from their mouth. If they hold it at chest or belly button level, the audio engineer has to turn up the channel gain, which dramatically increases the risk of feedback.
- Talk directly into the capsule: Handheld microphones are directional. If a speaker turns their head but keeps the mic stationary, their voice will drop, forcing the engineer to push the fader up into the danger zone.
- Do not cupping the microphone grille: Wrapping a hand around the metal mesh grille changes the physical acoustics of the mic, turning a directional cardioid microphone into an omnidirectional microphone. This instantly triggers feedback.
Step 7: Quick Troubleshooting During a Live Emergency
If a squeal occurs during the live show, you must act in seconds. Do not panic and start pressing random buttons on the digital mixer.
Follow this immediate emergency checklist:
- Identify the active mic: Look at your mixer meters. The channel that is feeding back will have its level meter pegged at the top.
- Pull the fader down: Lower the channel fader by 3 to 6 dB immediately. This breaks the loop. Do not mute the channel entirely unless the feedback is completely deafening, as you want the speaker to keep talking once the volume is controlled.
- Check the presenter's position: Look at the stage. Did the presenter walk in front of a speaker? Gently signal them to take a step back or walk back behind the line of the PA.
- Apply a quick high-shelf cut: If it is a high-pitched squeak, quickly turn down the High EQ knob on that channel strip to dampen the high frequencies.
Knowing how to manage physical room acoustics and audio equipment prevents stressful disruptions during high-profile corporate gatherings. Let us handle the technical design and stage setup for your next corporate event in Texas. Reach out through our corporate booking page to secure a professional team that ensures flawless sound from load-in to the final speech.
Common questions
What is the fastest way to stop microphone feedback during a live speech?
The fastest way to stop feedback immediately is to lower the volume fader of the offending microphone channel on the mixer by 3 to 6 decibels. This breaks the feedback loop. Once the ringing stops, identify if the speaker is standing too close to the PA speakers and have them move behind the plane of the main speakers. You can then make a quick cut to the high frequencies on the mixer EQ to keep the volume up without triggering another squeal.
Why does covering a microphone with your hand cause feedback?
Covering the mesh grille of a microphone with your hand is called cupping. This action blocks the acoustic rear ports of the microphone capsule. These ports are designed to reject sound coming from behind the mic. When blocked, the directional cardioid microphone physically behaves like an omnidirectional microphone, capturing sound from all directions. This immediately picks up the output from the main PA speakers and triggers a feedback loop.
Are wireless lapel microphones more prone to feedback than handheld mics?
Yes, wireless lapel or lavalier microphones are significantly more prone to feedback. They typically feature omnidirectional capsules designed to capture sound from a wider area since they sit on a collar far from the mouth. Because they are distant from the speaker's mouth, the audio engineer must turn up the input gain, which makes them hyper-sensitive to room reflections. For high-volume environments, directional headset microphones are much safer.
What frequencies usually cause high-pitched audio feedback?
High-pitched feedback squeals typically occur in the high-mid and high-frequency ranges, specifically between 2 kHz and 8 kHz. Mid-range metallic ringing usually happens around 1 kHz, while low-frequency rumbles or hums occur between 100 Hz and 250 Hz. Identifying these specific ranges allows an audio technician to use a parametric equalizer to cut the precise problem frequency without draining the natural tone and clarity from the presenter's voice.
Go deeper
Stay in the loop
Not booking today?
Get tour dates, new music, and a heads up when booking availability opens. No spam, unsubscribe anytime.
Keep reading
- Event PlanningXLR vs. TRS vs. RCA: The Event Planner's Guide to Audio CablesDemystify venue AV quotes. Learn the crucial differences between XLR, TRS, and RCA cables, and why using the wrong wire creates terrible event buzz.
- Event PlanningEvent Audio Routing for Videographers: The DJ GuideLearn how to route clean board audio to an event videographer's recorder. Prevent clipping, room echoes, and ground hum with this technical guide.
- Event PlanningWhy Wireless Mics Cut Out: UHF vs 2.4 GHz for PlannersDiscover why wireless microphones drop signal at crowded events. Learn how guest Wi-Fi clashes with 2.4 GHz and why professional UHF systems are required for clean audio.