Festivals & Live Production · 6 min read
How to Connect a DJ Controller to a Venue PA System
Learn how to connect a professional DJ controller to any venue PA system. Prevent signal hum and buzzing by mastering balanced vs. unbalanced audio signal flow.
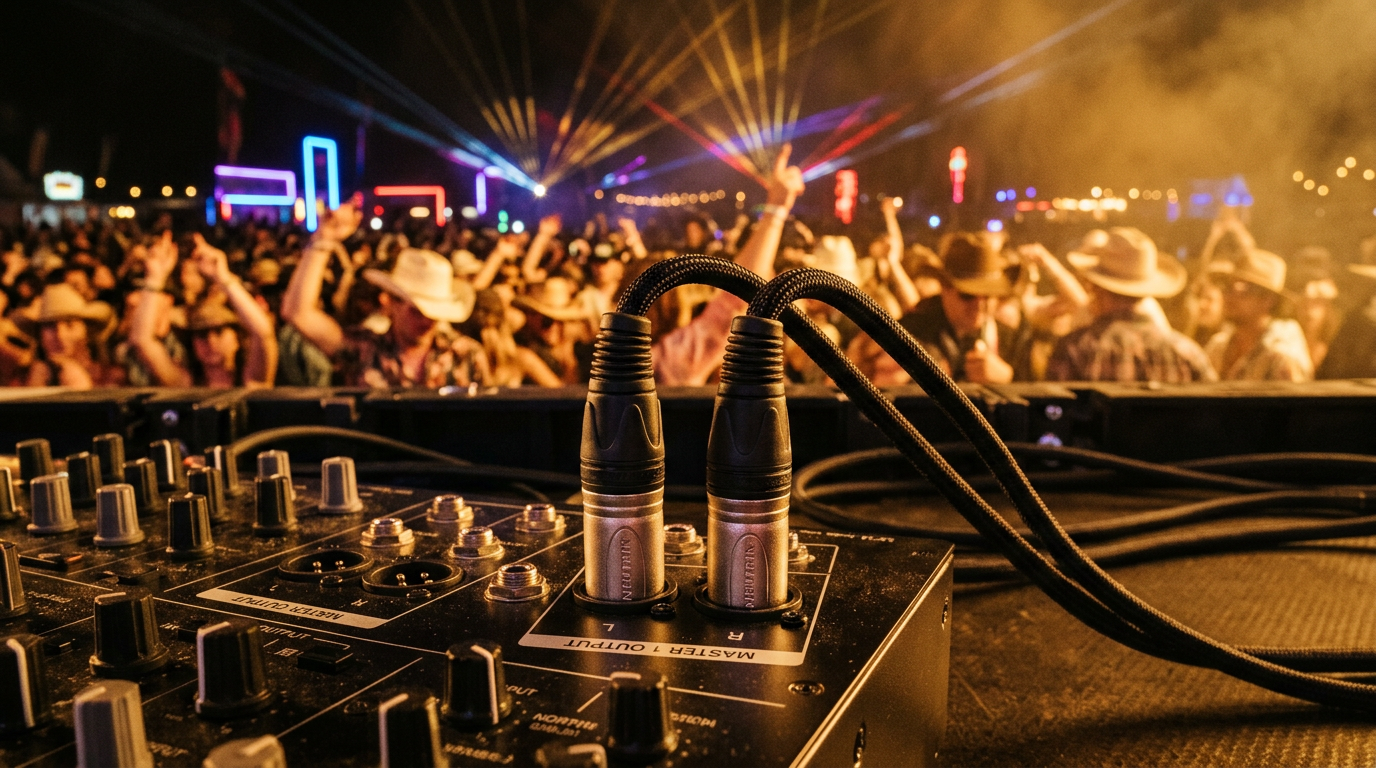
The short version
To connect a DJ controller to a venue PA system without noise, run balanced XLR or TRS cables directly from the controller's master outputs to the house mixer. For controllers with unbalanced RCA outputs, use a stereo passive DI box to convert the signal to balanced XLR before running it past 15 feet.
Short answer: To connect a professional DJ controller to a venue PA system, run balanced XLR or 1/4-inch TRS cables directly from the controller's master outputs to the house mixer or stage box. If your controller only offers unbalanced RCA outputs, you must route those outputs into a dual passive Direct Input (DI) box first to convert the signal to a balanced line before running cables longer than 15 feet. This simple hardware solution protects your audio quality and eliminates live performance noise.
The Physics of Sound: Balanced vs. Unbalanced Audio
To prevent audio issues during a live event, you must understand the physical difference between balanced and unbalanced connections. This is the foundation of venue audio signal flow.
Unbalanced cables use two conductors: a hot wire that carries the audio signal and a ground wire that shields the signal and completes the electrical circuit. Common unbalanced cables include consumer RCA cables and 1/4-inch TS (tip-sleeve) instrument cables. Because the ground wire also acts as a shield, it easily picks up electromagnetic interference from lights, video walls, and power lines. If an unbalanced cable is longer than 15 feet, it acts as an antenna, introducing a noticeable hum or buzz into the sound system.
Balanced cables use three conductors: a hot wire (positive), a cold wire (negative), and a separate ground wire. Common balanced cables include XLR cables and 1/4-inch TRS (tip-ring-sleeve) cables. The hot and cold wires carry identical copies of the audio signal, but the cold signal is polarity-inverted. When the signal reaches the receiving equipment, the gear flips the cold signal back and combines the two. Any noise picked up along the cable run is phase-canceled and completely eliminated. This allows balanced cables to run hundreds of feet without signal loss or noise.
Standard Audio Connectors in DJ and Venue PA Systems
When planning your setup, you will encounter four primary connector types. Understanding these allows you to run a smooth technical run of show before the performance.
- XLR (Balanced): The professional industry standard. XLR connectors feature three pins and a locking mechanism that prevents accidental disconnection. This is the preferred connection for running signals from a controller directly to a house stage box.
- TRS 1/4-inch (Balanced): These look like standard guitar jacks but have two black rings on the metal tip, dividing it into three sections (Tip, Ring, Sleeve). They carry a balanced line-level signal.
- TS 1/4-inch (Unbalanced): These have only one black ring on the tip (Tip, Sleeve). They are commonly used for instruments like electric guitars but are unbalanced and prone to noise if used for long runs from a DJ controller.
- RCA (Unbalanced): Consumer standard cables, typically colored red and white. They are unbalanced and should never be run directly over long distances to a venue PA system.
Three Ways to Connect a DJ Controller to a Venue PA
The method you choose depends entirely on the outputs available on the DJ controller and the inputs available at the venue.
Scenario 1: Direct Balanced Connection (The Professional Standard)
If the DJ controller has XLR or TRS master outputs, connect them directly to the venue's stage box or house mixer using XLR cables. This is the cleanest and easiest signal flow. It requires no extra conversion hardware. When I perform as Jordan Miller or with Mixmode, our rider always specifies balanced connections to keep our live guitar and EDM sets clean. You can read more about how this works on our country EDM technical rider and production guide.
Scenario 2: Unbalanced Output to Balanced House PA (The DI Box Method)
Many compact or entry-level DJ controllers only have unbalanced RCA master outputs. If the venue's mixer or stage box is more than 15 feet away, do not use long RCA cables. Instead, connect short RCA cables (under 6 feet) from the controller into a stereo passive DI box. Connect balanced XLR cables from the DI box outputs to the venue PA system.
Scenario 3: Connecting Through an Intermediate DJ Mixer
In club setups, the venue often has a permanent house mixer. If you are using a controller, connect the controller's master outputs into an open line-level input channel on the house mixer. Keep the controller's master output level at nominal (around 12 o'clock or 0 dB) and let the venue's audio engineer control the master volume from the house console.
Why the DI Box Is Essential for Live Sound
For venue managers and AV planners, a high-quality Direct Input (DI) box is a critical piece of safety gear. It solves two major problems: impedance matching and electrical isolation.
First, it matches impedance. DJ controllers often output a high-impedance consumer line level, while venue PA systems expect a low-impedance microphone or professional line-level signal. The DI box uses an internal transformer to step down the impedance, matching the signal to the house system's inputs.
Second, it isolates the electrical ground. Ground loops occur when the DJ controller and the venue PA system are plugged into different electrical circuits with slightly different ground voltages. This creates a continuous, low-frequency hum. A passive DI box features a ground lift switch. Flipping this switch physically disconnects the ground wire on the XLR side, breaking the loop and silencing the hum instantly. To understand how to handle complex power setups and ground loops at outdoor events, check out our guide on generator and power planning for outdoor hybrid DJ sets.
Step-by-Step Connection and Gain Staging Guide
To avoid speaker damage and distortion, follow this exact sequence when connecting a DJ controller to any house system:
- Power Down: Ensure the venue PA speakers or amplifiers are turned off before making any connections.
- Patch the Cables: Connect the DJ controller outputs to the DI box (if needed), and then run the balanced XLR cables to the house mixer or stage box.
- Zero the Channels: On the house mixer, turn the input gain (trim) and the channel fader all the way down.
- Power Up Sequence: Turn on the DJ controller and laptop first. Next, turn on the house mixer. Finally, power on the venue PA amplifiers or active speakers.
- Set DJ Output Level: Play a track on the DJ controller. Adjust the controller's channel gain and master volume so the meters peak in the green or early amber range (around 0 dB). Never let the controller meters hit the red.
- Set House Input Gain: On the house mixer, slowly raise the input gain for the DJ channels until you get a strong, clean signal without clipping.
- Bring Up the Faders: Slowly raise the channel faders and the master fader on the house mixer to reach the desired volume in the room.
If you are coordinating a larger production, establishing this gain structure is a vital part of the technical rehearsal. You can learn more about managing these on-site technical discussions in our article on how to run a technical advance call for live music events.
Summary Checklist for Event Planners
When hiring a DJ or booking live hybrid acts, keep this quick reference list handy to ensure your production team is prepared:
- Distance check: Is the DJ booth more than 15 feet from the PA mixer? If yes, balanced XLR connections are mandatory.
- DI boxes on hand: Always keep a stereo passive DI box at the DJ booth to convert unbalanced RCA signals if the performer brings a compact controller.
- Power supply: Ensure the DJ booth and the main PA mixer run on clean, stable circuits.
- Technical rider review: Review the performer's audio requirements at least two weeks before the event to ensure the venue has the correct cabling.
For professional sound engineering and hybrid live performance bookings, reach out via our contact page.
Common questions
Can I connect my DJ controller directly to active PA speakers?
Yes. If your controller has balanced XLR or TRS master outputs, you can connect them directly to the inputs of active PA speakers using balanced cables. If the distance is more than 15 feet, ensure you only use balanced connections to prevent electromagnetic noise.
Why is there a loud hum when I connect my DJ controller to the house mixer?
This is usually caused by a ground loop or an unbalanced cable run over 15 feet. Ground loops happen when your controller and the house mixer are plugged into different electrical outlets. You can solve this by routing your audio through a passive DI box and engaging the ground lift switch.
What is the difference between XLR and RCA cables for DJ setups?
XLR cables are balanced, carrying three wires to phase-cancel interference and handle long distances. RCA cables are unbalanced, carrying two wires, and are highly susceptible to noise over 15 feet. Professional venues always prefer balanced XLR signals.
Do I need an external mixer between my DJ controller and the PA?
An external mixer is not strictly required if your controller has a built-in sound card and master outputs. However, connecting through a house mixer gives the venue's sound engineer direct control over your volume levels and protects the main PA from accidental clipping.
Go deeper
Keep reading
- Festivals & Live ProductionGenerator and Power Planning for Outdoor Hybrid DJ SetsLearn how to calculate electrical load, choose the right generator, and prevent ground loop hums when planning outdoor hybrid DJ sets with live electric guitar.
- Festivals & Live ProductionThe Country EDM Technical Rider: Advancing a Hybrid DJ and Live Guitar ShowWritten for stage managers, production companies, and talent buyers advancing a hybrid DJ and live guitar show, based on what actually breaks in the room.
- Tour StoriesTuning Under Humidity: Managing Guitar Tone at The BroadsideLearn how to manage live electric guitar tuning and tone in high-humidity outdoor environments like New Orleans, featuring real-world gear setups and acclimation workflows.